Showing posts with label Tips for painting. Show all posts

Saturday, February 9, 2013

Second Time Around


All painted in Caramel Cream


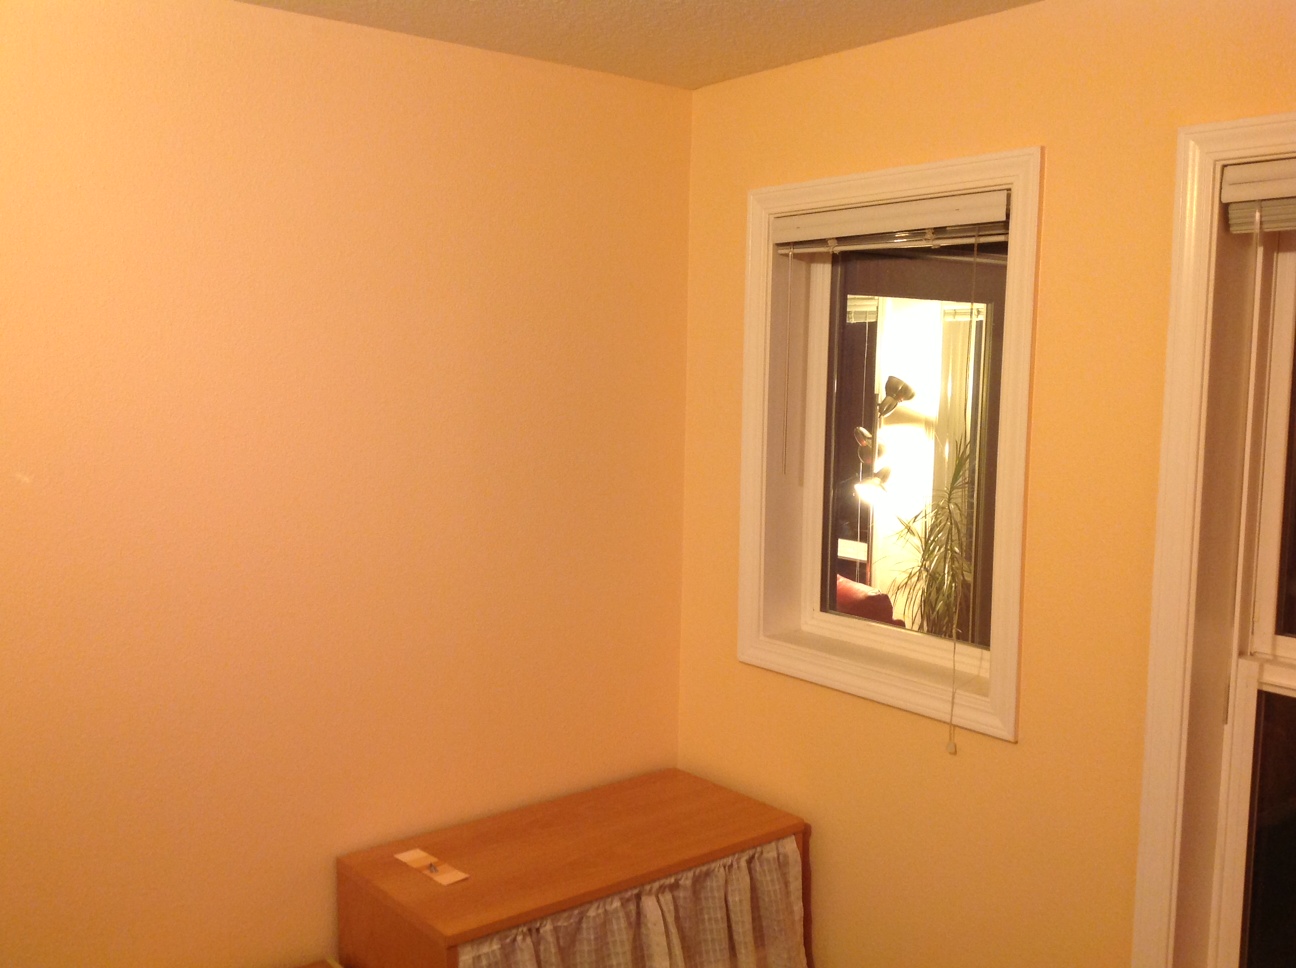
Do you know the difference between Caramel Cream and Weak Tea?  Well, I thought Caramel Cream was the right color. Turns out it's way too rich. What this household needs is a dose of Weak Tea.


Weak Tea on the left--Caramel Cream on the right
natural lighting
That guest room/office space I've been working on has been wrapped up, a week ago, actually, but not without some effort.  Rolling a ceiling isn't fun, and since Things I get to do today are only those things I love to do, it took considerable self-talk about the lovely creamy finished product to get me through.  How-to videos  showed me the way to roll paint on a ceiling to prevent having stripes when it's dry.  Too bad I didn't take the time to gather that information before I put on the first coat.  I think it's called live and learn--the second coat went on beautifully.  The secret:  really load on the paint.  Don't ever let it get thin.  Saves time and paint in the end.
Paint chip


But back to the color.  My husband's first response to the nearly completed paint job was: It's too dark and it's pink!  It's time to get his eyes checked for color blindness, seriously.  In fairness, however, it was a bit darker than expected.  The walls play against each other, intensifying the color. From the chip on the right, Caramel Cream is the top one;  Weak Tea at the bottom.  We're both so glad for the second time around.
Weak tea--artificial light

Sunday, December 9, 2012

The Woodwork

14 in 1 painter's tool.
What do I use all those
curves and holes for?


It turns out it's not all that simple.   Painting the trim, putting the decorations on the cake, if you will, has been a growth experience.  As one hitches along the perimeter of a room, first taping the edge of the carpet under the baseboard, then painting the baseboard (not the wall, thank you.  It's already done and is Pale Honey in eggshell, not white in enamel), there is plenty of time for contemplation.  If one is paying attention and finds joy in details, there's a lot to be learned.


The big curve on the right of the painter's tool cleans at
least a half cup of paint out of the roller before it is ready
to be washed!  Washing up goes so much faster.


At the beginning of this painting project (you remember it all began with washing the windows and deep-cleaning the kitchen floor), the work list said simply "paint the ceiling Air, paint the walls Pale Honey, paint the woodwork White."

Kitchen corner BEFORE

So the baseboards became white.  The woodwork around the windows was a different matter.  Cracks and dried calk between the window sash and woodwork needed to be cleaned out and recalked.  Mini blinds were taken down.  The sashes were cleaned.  And the woodwork was finally painted.

The mini blinds went back up--temporarily.  They are old.  They are dirty.  They are slightly broken here and there.  And they look hideous in the newly painted window frames.

 
Kitchen corner AFTER


So one of the Things I get to do today (or tomorrow) is shop for new curtains.  What a slippery slope this has been!  How truly fabulous it is to have rooms feeling clean and vibrant instead of heavy and dirty.  Who knew?

PS.  This what I was doing when I was not blogging.


Tuesday, November 13, 2012

The Walls

In the day light, the color comes across a fair bit lighter

Pale Honey.  Sounds delicious to me. Our frequently rainy and often dark climate puts in a request for warm colors on the interior walls of my house.  That's where the golden tones of honey come in.


Cold air return: cleaned and replaced with
painted screws onto a clean and freshly painted ceiling
The wall painting went slick.  Handy Andy remembered her painting instructional videos.  Load the roller.  Rotate the roller back and forth when moving from the paint pan to the wall to prevent it from dripping.  Begin rolling at 1/4 of the way down from the ceiling and roll down to 1/4 from the baseboard.  Then roll up, up to the top and down, down to the bottom.  Reload and repeat.  This is amazingly fast and produces perfect results.

The above tip lays a uniform and moderately heavy coat of paint on the wall--ideal if you aren't interested in doing two coats.  Top of my Things I get to do today is NOT to be interested in putting two coats of paint on the walls.  That gave me time to do all the walls in the dining room, living room and entry in the afternoon after my morning "touch up" of the ceiling and before house guests arrived at 6 PM.  A couple of rest days are so in order.


Saturday, November 10, 2012

Prep

This all started, you know, when I cleaned (really cleaned) my kitchen floor.  Be warned for your own situation.  Scrubbing can lead you to a very slippery slope.

So now I find myself preparing the interior of my house, as in living room, hall, kitchen and family room, to be painted.  According to my husband, it looks like the place forgot to take off its Halloween costume, draped as it is with ghostly, filmy plastic to protect floor and furniture from the "paint dust" from spray painting the ceiling.

Dirty, dirty


And down come the ceiling cold-air return covers.  In the twenty years of their boarding in our house, they've been cleaned (from time to time) but have never been removed and washed.  The gray heads of the screws annoy me slightly.  Among all the other painting details helping the heads look smart will be one of the Things I get to do today.

Going to spray paint these to match


Found that a 3x5 card, punched, worked just swell to hold the screws for a quick spray paint.  Photo soon of the delightful results.